1. 컴포넌트(Components)
컴포넌트(components)는 Vue의 매우 중요한 요소 중 하나로, 하나의 어플리케이션을 작은 요소로 분해하여 은닉성과 재사용성을 가지게 해줍니다. 컴포넌트를 활용하면 화면을 빠르게 구조화하여 일괄적인 패턴으로 빠르게 게발할 수 있습니다.
컴포넌트 구성 
2. 전역 컴포넌트(Global Components)
전역 컴포넌트는 여러 Vue 인스턴스에서 공통으로 사용할 수 있는 컴포넌트 입니다.
전역 컴포넌트를 등록하기 위해서는 Vue 라이브러리의 component 함수를 호출하며, 매개변수로는 컴포넌트 이름과 Vue 인스턴스의 옵션을 넣어줍니다.
template 옵션을 통해 템플릿을 설정할 수 있으며, data 옵션의 경우 Object 타입으로 설정하면 해당 컴포넌트를 사용하는 모든 인스턴스에서 동일한 데이터를 공유하게 되므로 함수 형태로 설정하여 데이터를 독립적으로 사용하도록 합니다.
컴포넌트 등록
Vue.component('global-component', { template: `<template>{{ message }}</template>`, data() { return { message: '전역 컴포넌트' } } }) |
컴포넌트 이름은 위의 코드와 같이 케밥 케이스(kebab case)로 설정하며, 2단어 이상으로 구성되도록 합니다. Vue 인스턴스에 컴포넌트 이름의 태그를 넣어주면 컴포넌트가 출력됩니다.
index.html
<!DOCTYPE html> <html lang="ko"> <head> <script src="https://cdn.jsdelivr.net/npm/vue@2/dist/vue.js"></script> <script defer src="./main.js"></script> <title>Vue 연습</title> </head> <body> <div id="app"> <div><global-component /></div> </div> </body> </html> |
main.js
Vue.component('global-component', { template: `<template>{{ message }}</template>`, data() { return { message: '전역 컴포넌트' } } })
new Vue().$mount('#app') |
출력 결과

컴포넌트는 다음과 같이 재사용이 가능합니다.
index.html
<!DOCTYPE html> <html lang="ko"> <head> <script src="https://cdn.jsdelivr.net/npm/vue@2/dist/vue.js"></script> <script defer src="./main.js"></script> <title>Vue 연습</title> </head> <body> <div id="app"> <div><global-component /></div> <div><global-component /></div> <div><global-component /></div> </div> </body> </html> |
출력 결과

전역 컴포넌트 이므로 모든 Vue 인스턴스에서 사용가능합니다.
index.html
<!DOCTYPE html> <html lang="ko"> <head> <script src="https://cdn.jsdelivr.net/npm/vue@2/dist/vue.js"></script> <script defer src="./main.js"></script> <title>Vue 연습</title> </head> <body> <div id="app1"> <div><global-component /></div> </div> <div id="app2"> <div><global-component /></div> </div> </body> </html> |
main.js
Vue.component('global-component', { template: `<template>{{ message }}</template>`, data() { return { message: '전역 컴포넌트' } } })
new Vue().$mount('#app1') new Vue().$mount('#app2') |
출력 결과

컴포넌트의 이름은 케밥 케이스로 작성하지만 다음과 같이 파스칼 케이스(pascal case) 또는 카멜 케이스(camel case)로 작성해도 자동으로 케밥 케이스로 변경되어 컴파일됩니다.
index.html
<!DOCTYPE html> <html lang="ko"> <head> <script src="https://cdn.jsdelivr.net/npm/vue@2/dist/vue.js"></script> <script defer src="./main.js"></script> <title>Vue 연습</title> </head> <body> <div id="app"> <div><global-component /></div> </div> </body> </html> |
main.js
Vue.component('GlobalComponent', { template: `<template>{{ message }}</template>`, data() { return { message: '전역 컴포넌트' } } })
new Vue().$mount('#app') |
출력 결과

3. 지역 컴포넌트(Local Components)
지역 컴포넌트는 Vue 인스턴스의 components 옵션에 등록하며, 해당 컴포넌트가 등록된 인스턴스에서만 사용가능합니다. 컴포넌트 이름과 옵션을 key-value 쌍으로 입력하여 등록합니다.
index.html
<!DOCTYPE html> <html lang="ko"> <head> <script src="https://cdn.jsdelivr.net/npm/vue@2/dist/vue.js"></script> <script defer src="./main.js"></script> <title>Vue 연습</title> </head> <body> <div id="app"> <div><global-component /></div> </div> </body> </html> |
main.js
new Vue({ components: { 'global-component': { template: `<template>{{ message }}</template>`, data() { return { message: '지역 컴포넌트' } } } } }).$mount('#app') |
출력 결과

전역 컴포넌트처럼 키값을 파스칼 케이스 또는 카멜 케이스로 선언해도 됩니다.
main.js
new Vue({ components: { GlobalComponent: { template: `<template>{{ message }}</template>`, data() { return { message: '지역 컴포넌트' } } } } }).$mount('#app') |
재사용성을 위해 컴포넌트 옵션을 변수로 선언할 수 있으며, Object를 참조하는 변수는 키값이 될 수 있으므로 다음과 같이 작성할 수 있습니다.
main.js
const GlobalComponent = { template: `<template>{{ message }}</template>`, data() { return { message: '지역 컴포넌트' } } }
new Vue({ components: { GlobalComponent } }).$mount('#app') |
컴포넌트를 모듈 형태로 작성하여 import 한다면 유지보수가 쉬워집니다.
index.html
<!DOCTYPE html> <html lang="ko"> <head> <script src="https://cdn.jsdelivr.net/npm/vue@2/dist/vue.js"></script> <script defer type="module" src="./main.js"></script> <title>Vue 연습</title> </head> <body> <div id="app"> <div><global-component /></div> </div> </body> </html> |
main.js
import GlobalComponent from "./GlobalComponent.js"
new Vue({ components: { GlobalComponent } }).$mount('#app') |
GlobalComponent.js
export default { template: `<div>{{ message }}</div>`, data() { return { message: '지역 컴포넌트' } } } |
4. 컴포넌트간 통신
컴포넌트간 데이터의 전달은 단방향으로만 이동할 수 있습니다.
컴포넌트 사이의 데이터 전달 
부모 컴포넌트에서 자식 컴포넌트로는 props를 통해 데이터를 전달하며, 자식 컴포넌트에서 부모 컴포넌트로는 event를 통해 데이터를 전달할 수 있습니다.
1) props를 통한 데이터 전달
부모 컴포넌트에서 자식 컴포넌트로 데이터를 전달하기 위해서는 자식 컴포넌트에 props 옵션을 등록합니다. 부모 컴포넌트에서는 속성(attribute)을 통해 props를 전달할 수 있습니다.
index.html
<!DOCTYPE html> <html lang="ko"> <head> <script src="https://cdn.jsdelivr.net/npm/vue@2/dist/vue.js"></script> <script defer type="module" src="./main.js"></script> <title>Vue 연습</title> </head> <body> <div id="app"> <div><global-component title="타이틀1" /></div> </div> </body> </html> |
main.js
import GlobalComponent from "./GlobalComponent.js"
new Vue({ components: { GlobalComponent } }).$mount('#app') |
GlobalComponent.js
export default { template: `<div>{{ title }}</div>`, props: ['title'] } |
출력 결과

v-bind 디렉티브를 통한 props 전달도 가능합니다.
index.html
<!DOCTYPE html> <html lang="ko"> <head> <script src="https://cdn.jsdelivr.net/npm/vue@2/dist/vue.js"></script> <script defer type="module" src="./main.js"></script> <title>Vue 연습</title> </head> <body> <div id="app"> <div><global-component :title="message" /></div> </div> </body> </html> |
main.js
import GlobalComponent from "./GlobalComponent.js"
new Vue({ components: { GlobalComponent }, data: { message: '데이터 전달' } }).$mount('#app') |
GlobalComponent.js
export default { template: `<div>{{ title }}</div>`, props: ['title'] } |
출력 결과

2) 이벤트를 통한 데이터 전달
자식 컴포넌트에서 부모 컴포넌트로 데이터를 전달하기 위해서는 부모 컴포넌트에서 v-on 디렉티브로 이벤트를 등록합니다. 자식 컴포넌트에서는 $emit 메소드를 통해 이벤트를 호출할 수 있습니다.
index.html
<!DOCTYPE html> <html lang="ko"> <head> <script src="https://cdn.jsdelivr.net/npm/vue@2/dist/vue.js"></script> <script defer type="module" src="./main.js"></script> <title>Vue 연습</title> </head> <body> <div id="app"> <div><custom-button @print="printText" /></div> </div> </body> </html> |
main.js
import CustomButton from "./CustomButton.js"
new Vue({ components: { CustomButton }, methods: { printText() { console.log('Print Text!!') } } }).$mount('#app') |
CustomButton.js
export default { template: `<button @click="clickBtn">버튼클릭</button>`, methods: { clickBtn() { this.$emit('print') } } } |
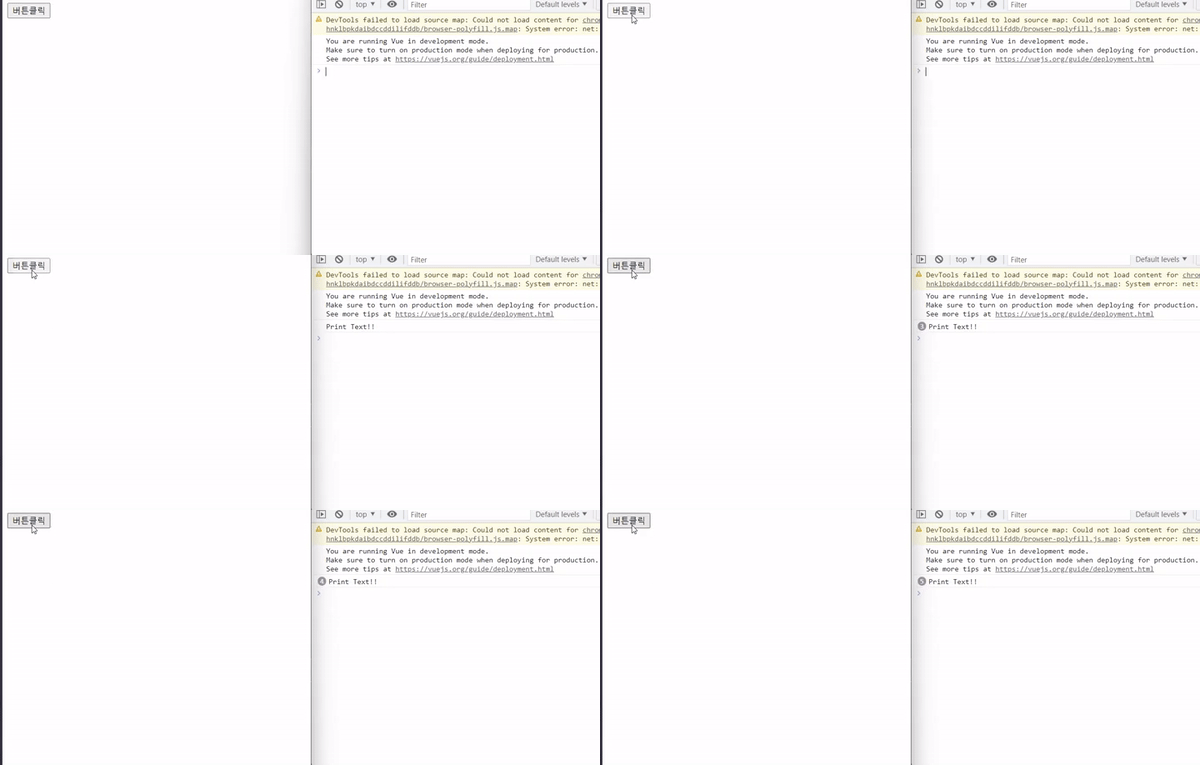
부모 컴포넌트에서 자식 태그에 print 이벤트를 등록하고, 해당 이벤트가 호출되면 printText 메소드를 호출합니다. 자식 컴포넌트에서는 클릭시 clickBtn 메소드를 호출하고, 해당 메소드에서는 print 이벤트를 호출하여 콘솔 로그가 출력됩니다.
출력 결과 
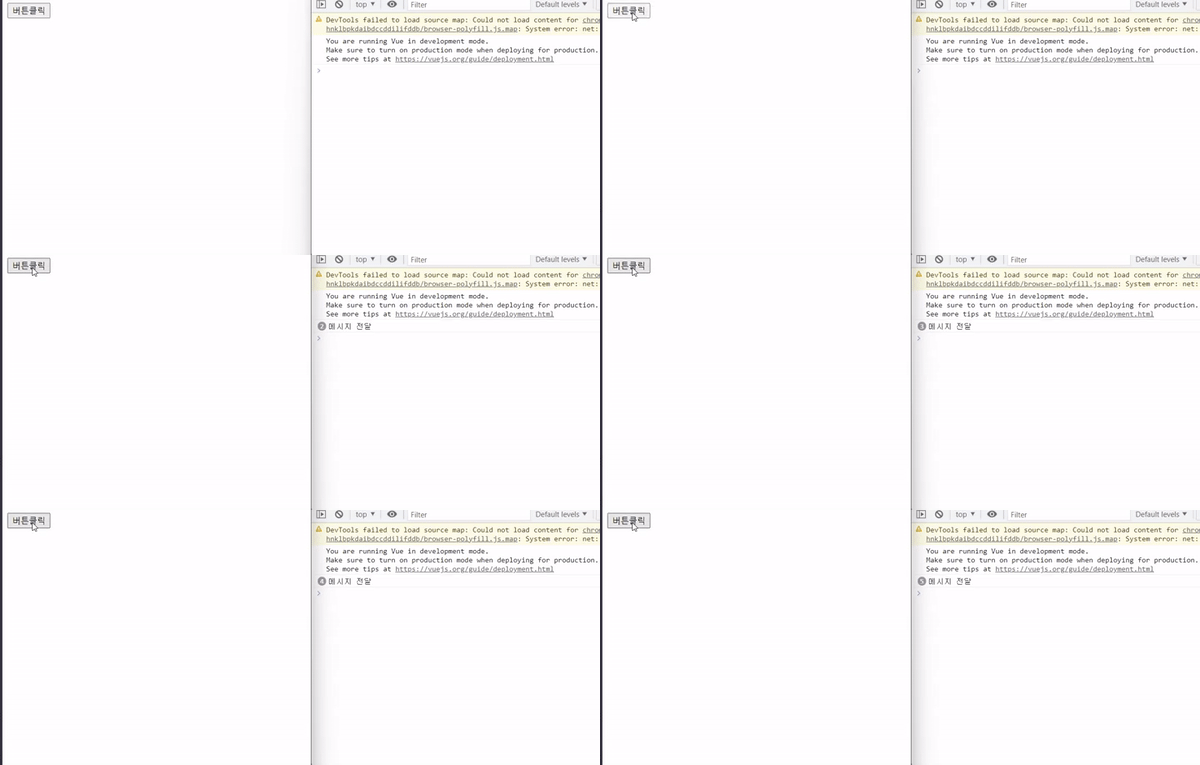
$emit 메소드의 2번째 파라미터에 전달할 데이터를 줄수도 있습니다.
index.html
<html lang="ko"> <head> <script src="https://cdn.jsdelivr.net/npm/vue@2/dist/vue.js"></script> <script defer type="module" src="./main.js"></script> <title>Vue 연습</title> </head> <body> <div id="app"> <div><custom-button @print="printText" /></div> </div> </body> </html> |
main.js
import CustomButton from "./CustomButton.js"
new Vue({ components: { CustomButton }, methods: { printText(msg) { console.log(msg) } } }).$mount('#app') |
CustomButton.js
export default { template: `<button @click="clickBtn">버튼클릭</button>`, methods: { clickBtn() { this.$emit('print', '메시지 전달') } } } |
출력 결과

3) 컴포넌트 사이의 데이터 전달
컴포넌트 사이에서는 이벤트버스를 통해 데이터를 서로 교환할 수 있습니다.
index.html
<!DOCTYPE html> <html lang="ko"> <head> <script src="https://cdn.jsdelivr.net/npm/vue@2/dist/vue.js"></script> <script defer type="module" src="./main.js"></script> <title>Vue 연습</title> </head> <body> <div id="app"> <div><custom-button @print="printText" /></div> </div> </body> </html> |
main.js
import CustomButton from "./CustomButton.js" import EventBus from "./EventBus.js"
new Vue({ components: { CustomButton }, methods: { printText(msg) { console.log(msg) } }, created() { EventBus.$on('print', this.printText) } }).$mount('#app') |
EventBus.js
export default new Vue();
|
CustomButton.js
import EventBus from "./EventBus.js"
export default { template: `<button @click="clickBtn">버튼클릭</button>`, methods: { clickBtn() { EventBus.$emit('print', '이벤트 버스로 데이터 전달') } } } |
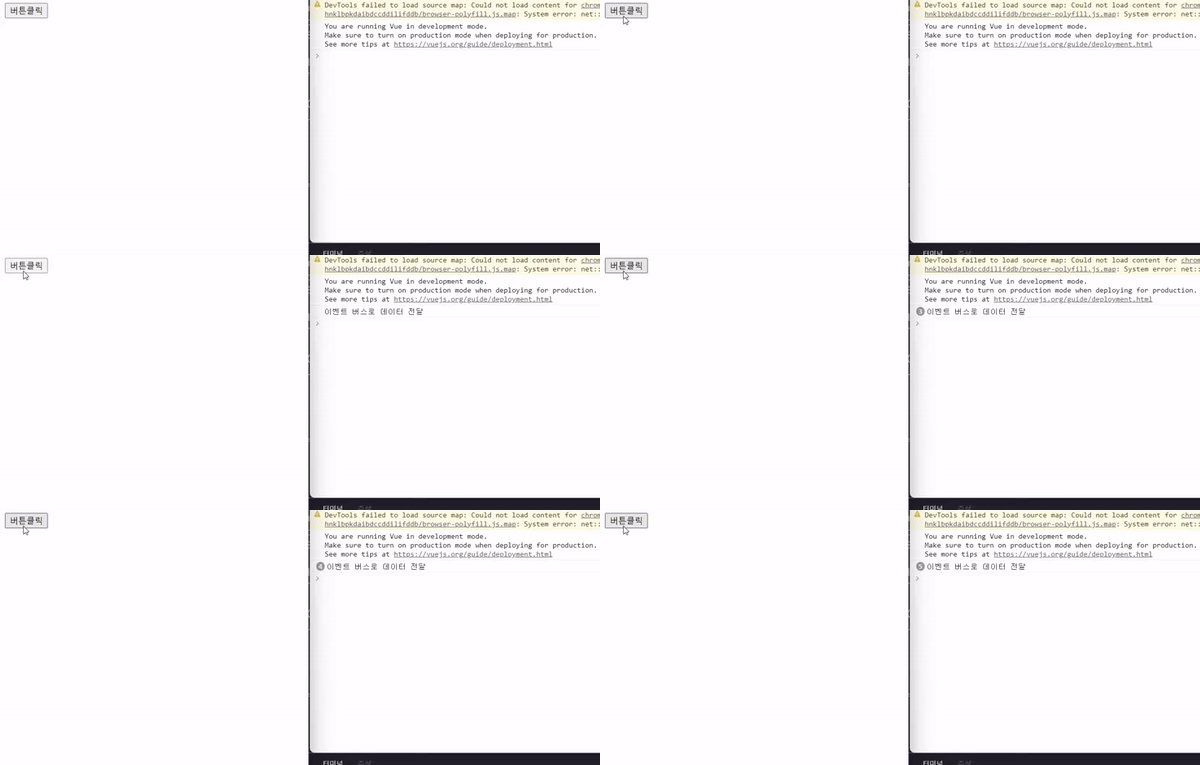
이벤트를 주고 받기위한 EventBus라는 Vue 인스턴스를 하나 생성합니다. 해당 인스턴스에서 $on 메소드를 통해 이벤트를 등록할 수 있고, $emit 메소드를 통해 이벤트를 호출할 수 있습니다.
app 컴포넌트가 생성될 때 EventBus에 print 이벤트를 등록하고, custom-button 컴포넌트를 클릭하면 EventBus에서 print 이벤트를 호출합니다.
출력 결과 
|
 스팟
스팟  스팟
스팟  스팟
스팟  스팟
스팟  스팟
스팟  스팟
스팟